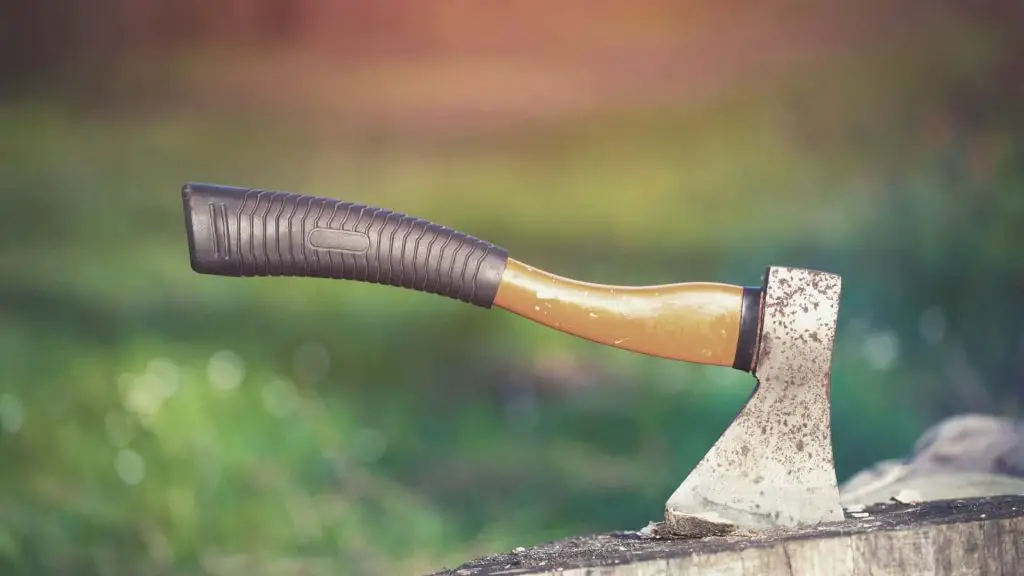
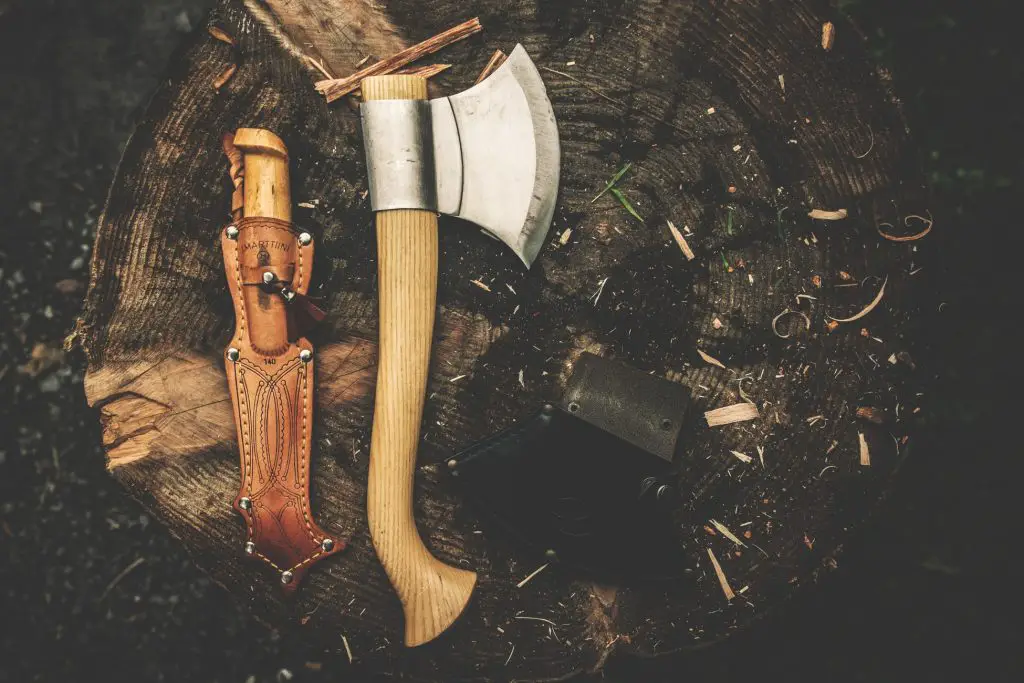
Experienced backpackers and outdoorsmen often take days, and sometimes even weeks to prepare for the upcoming trip; they stock up on essentials, maintain their gear, purchase upgrades if necessary, and they sharpen their tools, from knives, over hatchets, to backpacking saws.
You might have forgotten to sharpen your hatchet while making sure that you’ve done everything else properly or you simply took the shop keeper’s word for it, believing that ‘it’s already as sharp as can be’.
Indeed, to most inexperienced backpackers, trekkers, and mountaineers a hatchet might appear sharp enough for use, only to expose its inefficiency in live-action.
On another hand, your hatchet might not be the best model on the market, which means that it might get dull and useless after a couple of whacks.
Today we’re going to give you a couple of useful hints, tips, and tricks regarding the scenario where you’re stuck in the woods with dull hacking and cutting tools.
How do you sharpen a hatchet when backpacking?

Essentially, you’ll need a couple of sharpening tools and a pair of protective gloves. You should be in a seated position with your hatchet between your legs with the head’s cutting edge facing outwards. Affix the hatchet, but don’t strain yourself too much and use the puck to grind down the head.
There are several hatchet sharpening positions, numerous sharpening tools, a couple of techniques, and a ton of tips that will help you perform the sharpening process in the most efficient way.
Hatchet sharpening essentials
There are two sharpening techniques that require different tools – the first is the ‘actual’ sharpening while the second technique involves heavy-duty tools that both sharpen and ‘shape’ the blade.
Since heavy-duty tools are so big and heavy to be carried on a backpacking trip, we’ll only talk about the actual ‘sharpening’.

The most important tool you will need is the sharpening puck or a whetstone. Now, it’s absolutely imperative for you to understand that both of these tools are ‘man-made’ and need to be either purchased or crafted.
You can’t and shouldn’t try to sharpen your hatchet with any kind of stone (as seen in the movies) as this will certainly damage your hatchet’s edge.
Protective gear
Furthermore, it’s also very important to have the right protective gear. While you’re sharpening your hatchet, sparks will begin to fly out at the point of contact, so the first part of your essential gear should be a pair of goggles.
If you didn’t bring any, we recommend that you postpone the entire process until you get home. If you really can’t wait and you absolutely need your hatchet sharpened immediately, wearing any sort of glasses will somewhat help, although we highly advise against it.
The main reason why protective glasses are the only adequate piece of protection for your eyes is that they completely cover them while not impairing your sight.
Whetstones and sharpening pucks are typically heavy, and even a dull hatchet is still sharp enough to damage your fingers. That’s why you’ll also need to wear protective gloves.
Again, not any type of gloves will do – protective gloves provide full mobility to the fingers while their rugged design will keep your hands safe from harm.
On the flip side, you shouldn’t use ‘winter’ or ‘stylish’ gloves in any case. Gloves that could in any way impair your finger’s mobility or grip are not safe to use, as your hand could easily slip.
Safe hatchet sharpening positions
There are two safe positions – with the hatchet’s handle between your legs, and with the hatchet’s handle between your neck and shoulder. Let’s briefly talk about the benefits and disadvantages of each:
Handle between the legs
Most people prefer to sharpen their hatchets with the hatchet’s handle between the legs as this affixes the tool in the most reliable way.
Furthermore, this way you can put some pressure on the blade’s head and bury it slightly in the ground, making it completely immobile.
Hold the hatchet’s head by the ‘cheek’ and use the whetstone (or the sharpening puck). You should always perform downwards motions so as to make the sparks fly away from you.
This position offers safe and easy control of your hatchet and doesn’t really present any significant problems or downfalls.
Handle between the neck and shoulder
If your hatchet has a longer handle, you might find it easier to affix it with your neck and shoulder. This will allow you to control the hatchet’s head rather than the entire hatchet, but this technique is only useful if the handle is longer (closer to axe than a conventional hatchet).
You’ll be able to hold the hatchet’s head in various ways and flip it for detailed sharpening. Again, make sure that the edge is facing away from you.
The sharpening process itself is identical to the previous technique, and although it’s slightly more flexible, it’s also ‘exclusive’ for long-handled hatchet models.
Frequently Asked Questions
At what angle should you sharpen your hatchet?
Ideally, the hatchet’s edge should be kept at 30-40 degrees. This is the optimal and safest angle that ensures the highest level of efficiency without compromising your own safety.
Can a hatchet be sharpened without additional tools or accessories?
Some people suggest that using a knife’s spine, rocks, or even concrete for hatchet sharpening can be useful. Even though this might be true, if you don’t have the necessary experience, it will only lead to a damaged hatchet’s head.
Note that a dull hatchet can still be of use while a damaged one can’t. At the end of the day, hatchet sharpening accessories are pretty affordable and easy to come by, so there aren’t many reasons why you shouldn’t use them.
What types of ‘natural’ whetstones can be used for hatchet sharpening?
If you have some education and experience with different stones and minerals, you should look for Siliciclastic clay, Novaculite stones, or the Belgian Blue stone, but since these are typically very hard to find, you should still keep a whetstone handy.
Leave a Reply